Geocontrol 2 Vue - part 2
This is the second part of this tutorial showing how to use Geocontrol 2 terrains in Vue. Here you will learn how to distribute materials on your terrain in Vue using Geocontrol selectors.
Starting the work on the materials
Now that you have a nice terrain in Vue, you need to start working on materials. Edit the default one. Change it to a mixed material. Then change the default color of the first sub-material to green and rename it to "grass". Change the color of the second sub-material to blue and rename it to "water".
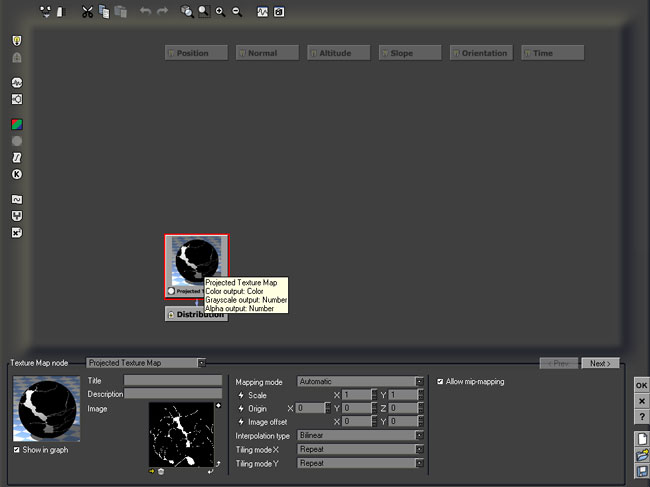
The distribution of those materials will be controlled by one of the selectors we exported from Geocontrol: the rivers one. You can find it in the alps-valley.zip document if you need. The image name is alps-valley-rivers.bmp. Right click the sphere controlling the distribution between material 1 and 2 and choose edit function. Add a texture map node and load alps-valley-rivers.bmp as a projected texture map. Choose bilinear interpolation and modify the scale to 1.01 to match the terrain size.
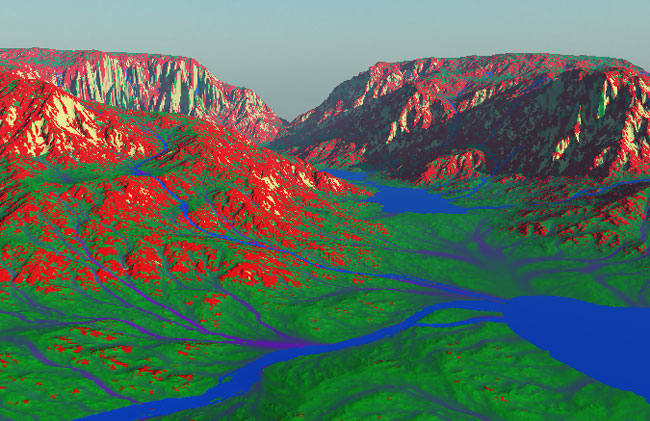
Exit the function editor and look at the preview. You should have the same thing as here. Make sure you are in object parametric mode. Adjust the smooth blending strip to 50%. Make a preview render. The rivers in your terrain should now be bright blue, all the rest being green.
Subdividing the materials
What you now need it to subdivide the grass material further. I chose to use mixed materials, not layers as I find them easier to use. The rest of the process is thus very similar to the first step: change to mixed materials and load distribution bitmaps.
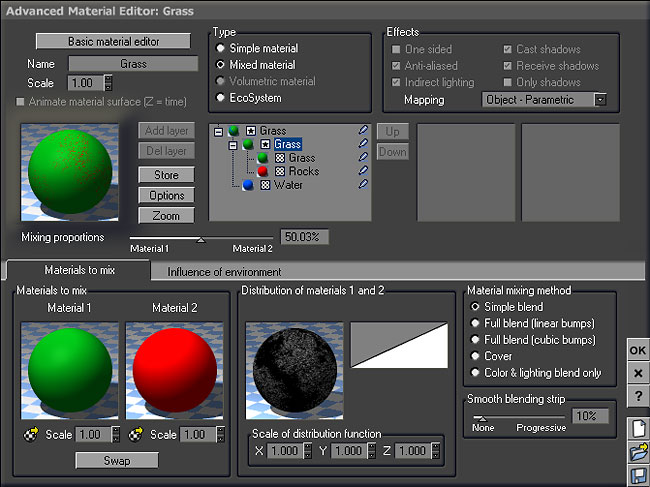
Change the grass material to a mixed material. Change the second material to bright red and name it "rocks". It will be used to control the distribution between grass and rocks in the terrain. Edit the distribution function and load the rough map in it (named alps-valley-rough.bmp in the zip file). Do not forget to resize it to 1.01 and to use bilinear filtering. If you make a preview render, you may notice that you only have very few scattered red areas. To change this, adjust the mixing proportions slider to the left in the material editor. This will enable you to control accurately how much rocks will appear in your scene.
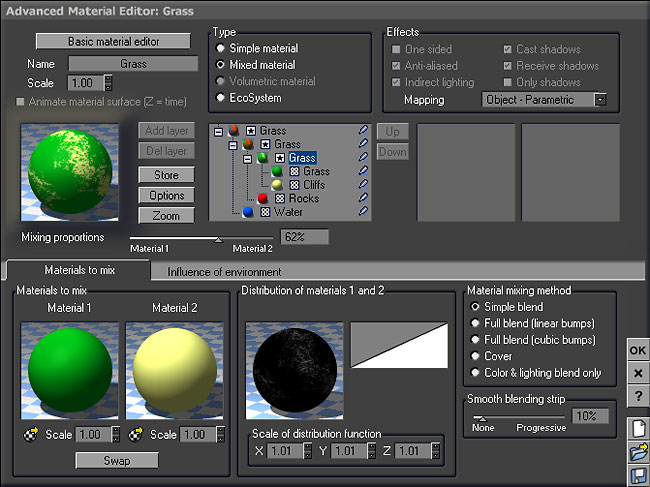
The next step is very similar. Subdivide the grass material again and create a mixed material. Change the color of the new material to yellow and call it "cliffs". This one will be useful in the scene as there are still areas which should be rocks, but are green. Edit the distribution function and load the fluvial map in it (named alps-valley-fluvial.bmp in the zip file). Again, resize it to 1.01 and to use bilinear filtering.
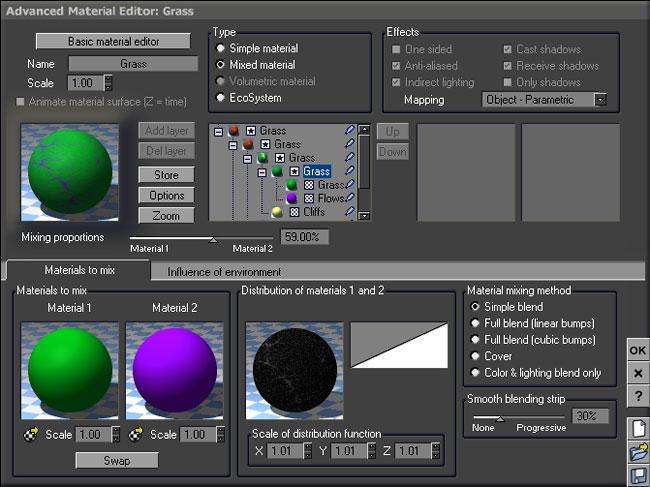
The distribution is becoming complex, but we will add one more material to simulate the erosion. Subdivide the grass material (this is the last time) and create a mixed material. Change the color of the new material to purple and call it "flows". Edit the distribution function and load the flows map in it (named alps-valley-flows.bmp in the zip file). Again, resize it to 1.01 and to use bilinear filtering. For this one, you can adjust the smooth blending strip to 30%.
You can now preview the result in your scene. It should look like this. The terrain mix is a bit complex, with 5 different materials. Generally, you will need only 4 : grass, water, rocks and flows. Adjust the mixing proportions between materials to get exactly the result you want and prepare for the last step.
Replacing the materials with the final ones
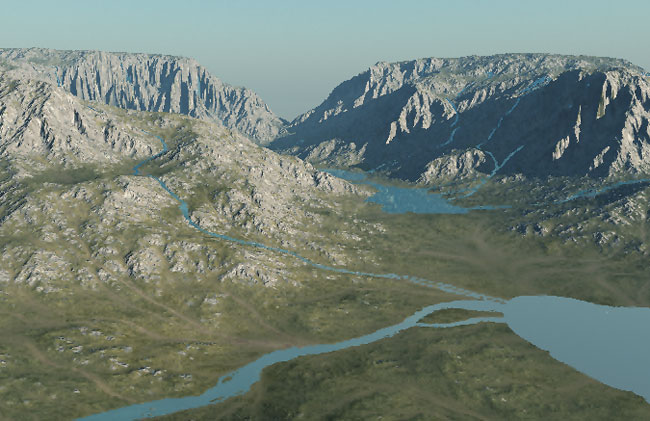
Now you are ready to replace those flashy colors with real materials. Edit each sub-material and load a real one from the Vue library. For this scene, I used the following ones (all stock Vue materials):
- Grass: large scale pale grass from the material layers library
- Rocks and Cliffs: gray mountains from the material layers library
- Flows: large scale rock 2 from the material layers library
- Water: clear water from the liquids library
Your terrain should now have a realistic distribution of materials, especially between rocks and grass. Of course, you can refine it further:
- Subdivide the water material: use foaming water on steep slopes and clear water on flat areas (with a standard Vue distribution function)
- Create another selector in Geocontrol for river banks and use it to add a muddy area on the side of the rivers
- Use ecosystem materials instead of the basic ones.
Once done, load a killer atmosphere but mind the render times (the water does make the renders quite long in this one).
