
Another brick in the wall
This tutorial will show you how to make realistic walls in Bryce. It should also work with other programs working the same way, such as Vue.
What you will need to complete this tutorial
Any version of Bryce, Photoshop or another image edition app.
Why a tutorial on how to make walls ?
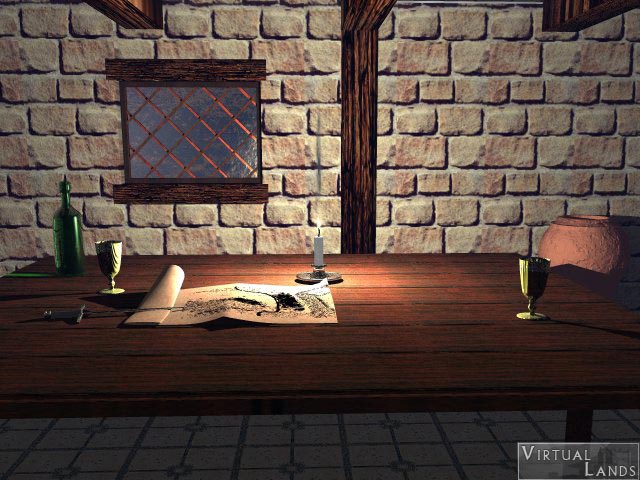
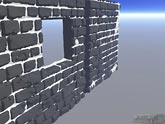
In any regular 3D application, making realistic wall is fairly simple. You simply have to apply a 2d texture on a square, with appropriate bump maps, to get rather good results like this one.
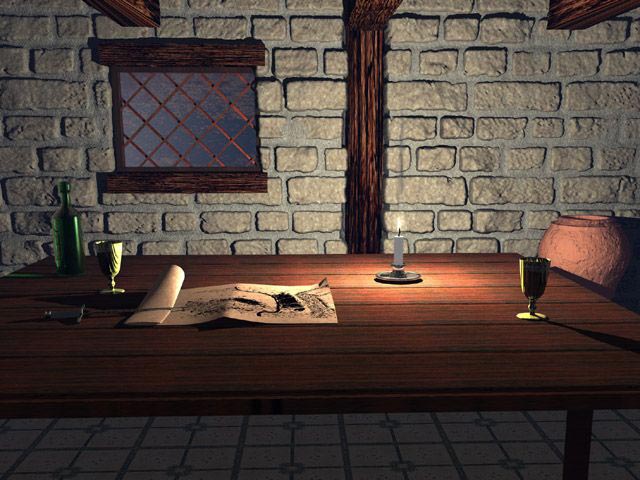
In Bryce, you have other possibilities. Trying to make a procedural brick texture is very difficult, but you can still apply 2D images on squares and use their alpha Channel to make the bumps. You get that kind of results, which is quite satisfying.
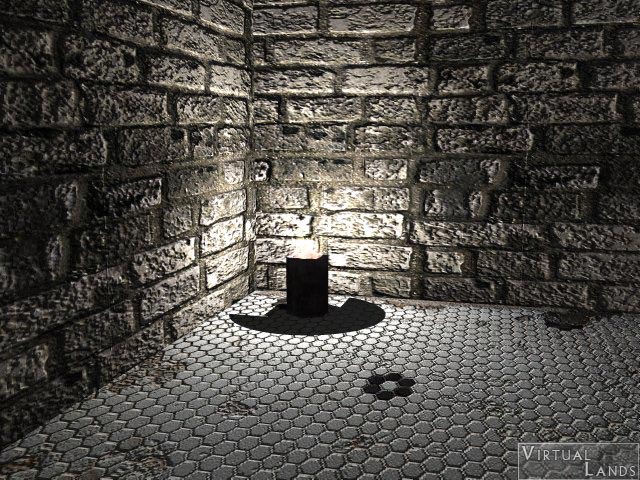
When I first made this image I didn't know anything about bump maps, so I used a 2D image and applied it to the wall, trying to orient the shadows so that they respect the scene lights. Although this may seem satisfying, it is not realistic. If you look carefully (click on the icon on its left to enlarge it) the wall appears to have been painted and the texture does not tile perfectly.
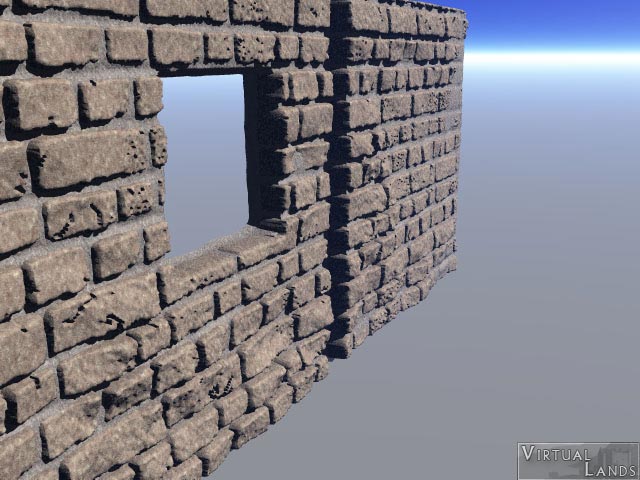
But Bryce has a great advantage over other 3D applications : the terrain editor. So, to have a really realistic wall, you can build it like a real one !
I decided to use the image of the wall to make the terrain, but you can use any appropriate shape.
Getting started
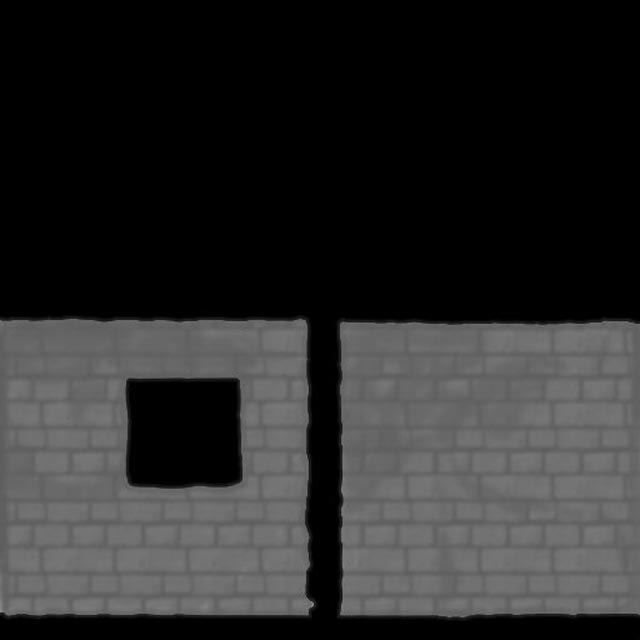
The first step is a work on the rendered image of the wall under photoshop by selecting the skies behind it and turning it to black. All the other parts are to be filled with a new texture that will make the actual bricks.
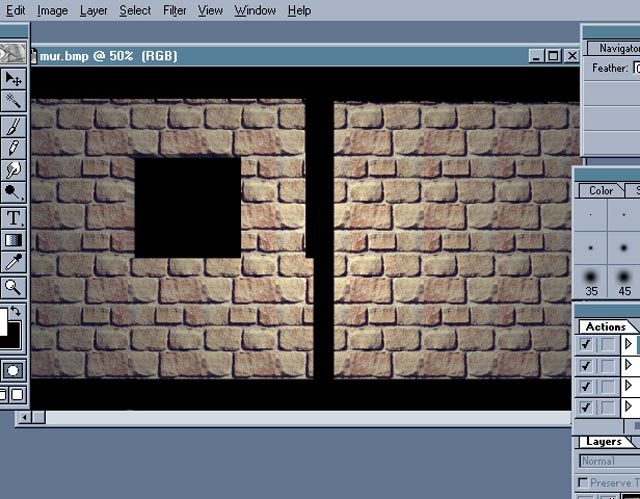
 The first thing to do to make a realistic wall is to select a realistic 2D texture to work on. If the texture is provided with bump maps, it is even better and you can ignore the next step.
 If not, you will have to make a bump map of this texture, clearing all the zones that will be between the bricks and giving them an appropiate thickness by painting them white with 50% opacity.
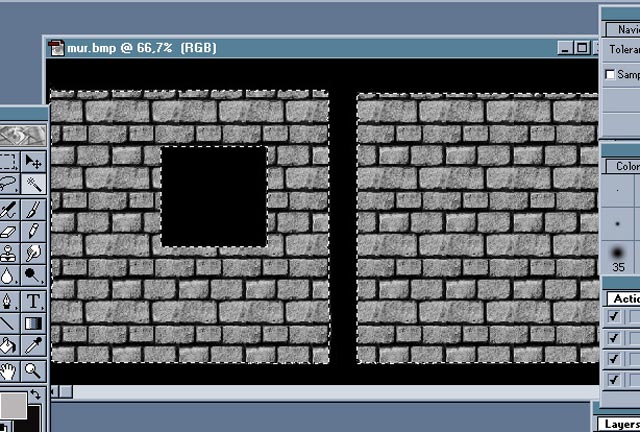
Then, fill the zone you want to turn to a terrain with the "bump map" you created. Make sure it is in 256 levels of grey and then prepare it for an export to Bryce by resizing it to make it square. I chose a 512 by 512 size to make sure I had enough detail for rather close views of my wall.

Once it was the right size, I imported the picture into the Bryce terrain editor and realized it was far too contrasted for what I wanted. So I reworked it several times, in both the texture editor and Photoshop to get the picture that was used in the final image.
The image above was used to make the bricks, but I needed another one to make the mortar. After a series of manipulations that involved a further reduction of the contrast, I obtained a second terrain that could be put under the first one.
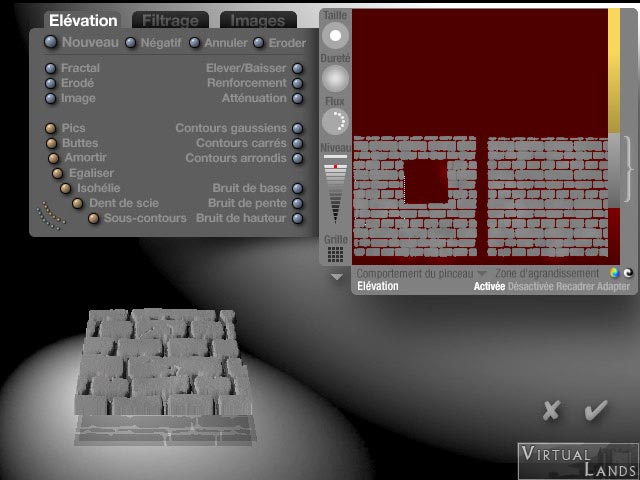
Some effects have been applied in the terrain editor to obtain the final rugged look of the wall. I "fractalized" it to make the bricks more irregular and also eroded it. I added a bit of noise to unsmooth its surface.

The same kind of work was made with the mortar, although it is far less irregular than the bricks. The main problem was that the mortar tended to cover the bricks at some places, so I had to make it very flat. But I did not clip it as much as the bricks terrain because there was no real need for it.
Both terrains were carefully adjusted, using a separate image and textures of distinctive colors. This image was rendered a couple of times before this result. I also had to adjust the thickness of both of the terrains.
The next step was choosing the textures for the wall. I made variations of existing ones. You may think that to be really realistic, I could have used the original texture and applied it on this terrain. The problem is the mapping. Parametric mapping on a terrain does not always work properly and if I had used a projection from the front the texture would have covered normally only the surface of the bricks.
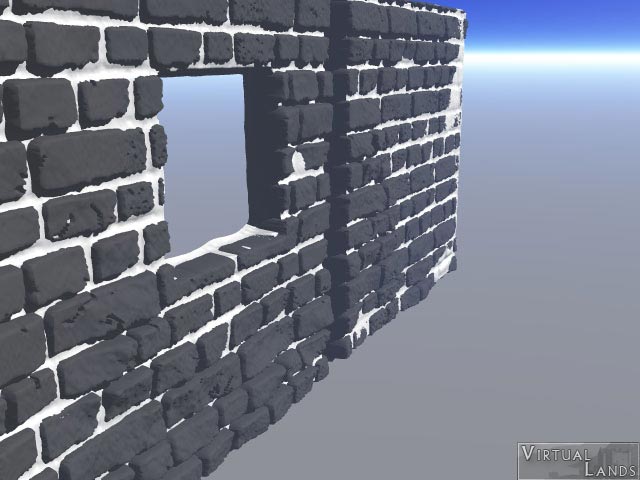
This is the final image. As you may see, the problem I had with the shadows has disappeared. The bricks behave like real ones unlike the ones done with bump maps only and they are faster to render than displacement maps.
This method is in fact the Bryce way to do what Bill Fleming calls Image map modelling. It is probably faster and easier to do than model bricks one by one as he describes in his book "Advanced 3d photorealism techniques". The model can be more detailed too. It can also be applied in other programs using the same basic working tools as Bryce. Vue is a good example.
